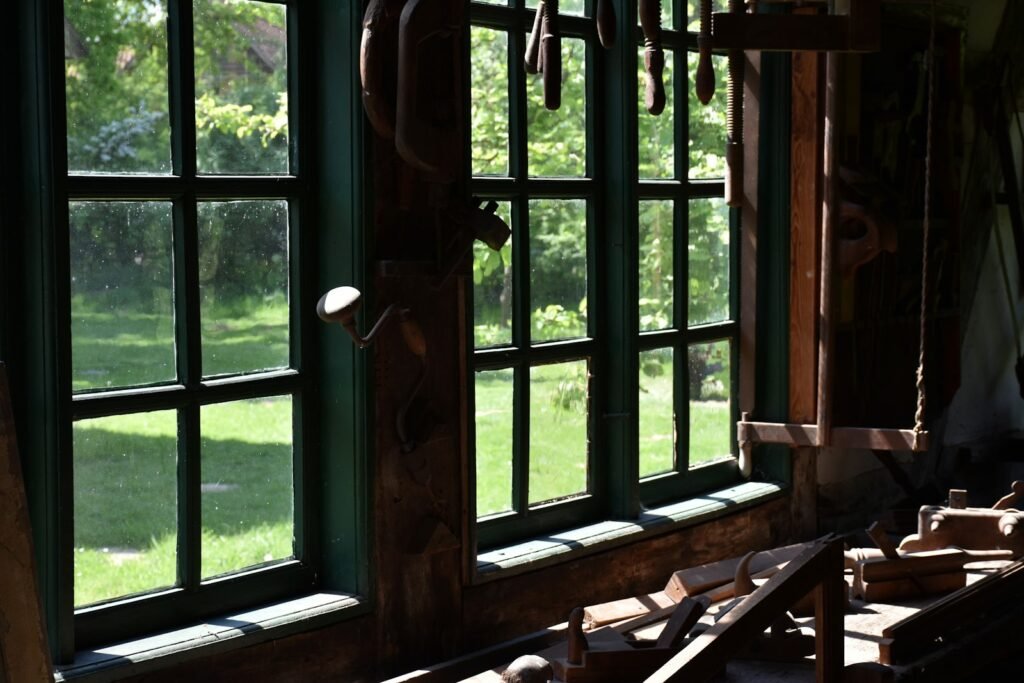
You do not need a dedicated building to start woodworking. Many great projects come out of one-car garages and even shared garages where the car still parks at night. The trick is planning: choosing the right tools for your space, organizing so everything has a home, and making the space safe, well lit, and reasonably dust-free. This guide walks you through setting up a small garage woodworking shop step by step. If you are just getting started, our Start Here page explains where to begin.
Key takeaways
- Start with a sturdy workbench; it is the heart of any shop.
- Buy tools as projects need them rather than all at once.
- Put larger tools on mobile bases so the space can change with the task.
- Invest early in lighting, electrical safety, and dust control.
- Use walls for storage to keep the floor clear.
Step 1: Assess your space
Measure the garage and note doors, windows, outlets, the water heater, and any areas that must stay clear for a car or storage. Think about workflow: lumber comes in, gets cut to size, is assembled on the bench, and then finished. Ideally those zones flow in a rough loop.
| Garage type | Typical approach |
|---|---|
| Shared one-car garage | Folding or mobile bench, tools on carts, wall storage, roll everything aside for the car |
| Dedicated one-car garage | Fixed workbench on one wall, mobile stationary tools, lumber rack on another wall |
| Two-car garage | Separate cutting, assembly, and finishing zones; room for a table saw with outfeed space |
Step 2: Build or buy a solid workbench
A heavy, flat, stable bench makes every task easier. A simple bench built from 2x4s and a plywood or MDF top is a great first project. Aim for a height around your wrist level when your arms hang at your sides, which is often 34″–38″ for many adults. Add a vise if you can. Shelves underneath give you storage and add weight for stability.
Step 3: Choose your first tools
It is tempting to buy a lot of tools at once. Instead, start with a core set and add tools as specific projects demand them. Here is a sensible progression. For more detail, see our hand tools and power tools categories, and read how we review to understand our approach to tool content.
Core starter tools
- Tape measure, combination square, marking knife or pencil
- Cordless drill/driver
- Circular saw with a straightedge guide (or a track saw)
- Jigsaw for curves
- Random orbit sander
- Clamps (several bar clamps and quick-grip clamps)
- A few chisels and a block plane
Common next additions
- Miter saw for fast, accurate crosscuts
- Router (a compact or mid-size model is versatile)
- Table saw, if space and budget allow, with proper safety accessories
- Pocket-hole jig for simple furniture joinery
- Shop vacuum and dust extractor
Step 4: Make big tools mobile
Mobile bases and carts are the secret of small shops. Put the miter saw on a rolling stand, the table saw on a mobile base, and build a flip-top cart that holds two benchtop tools. Lock casters when working. A mobile outfeed or assembly table can double as extra bench space.
Step 5: Plan electrical and lighting
- Power: Many garages have only a few outlets on one circuit. Running a saw and a dust collector together can trip breakers. Use heavy-duty extension cords rated for your tools, avoid daisy-chaining power strips, and consult a licensed electrician for new circuits or 240V service.
- GFCI protection: Garage outlets typically should be GFCI protected under current US electrical codes. Have an electrician confirm.
- Lighting: Bright, even overhead lighting reduces shadows and mistakes. LED shop lights are popular. Add task lighting over the bench and at the saw.
Step 6: Control dust
Dust is a health issue, not just a mess. Fine wood dust can irritate lungs and some species are known sensitizers.
- Connect a shop vacuum with a cyclone separator to sanders and small tools.
- Use a dust collector for larger tools like table saws and planers when you add them.
- Consider an air filtration unit or a box fan with a furnace filter to capture fine airborne dust.
- Wear a properly fitted respirator when making dust. See safety gear.
- Clean with a vacuum, not a broom; sweeping puts fine dust back in the air.
Step 7: Organize storage
- French cleats: A wall of French cleats lets you hang and rearrange tool holders easily.
- Pegboard: Inexpensive and quick for hand tools.
- Lumber rack: Store boards horizontally on wall-mounted arms; keep sheet goods vertical in a rack.
- Clamp rack: A simple rail on the wall keeps clamps handy.
- Labeled bins: For hardware, screws, and sandpaper.
Step 8: Set up a finishing area
Finishing creates fumes and needs dust-free surfaces. Choose an area with good ventilation, ideally near the garage door. Store flammable finishes in a metal cabinet away from heat sources and pilot lights, such as those on water heaters. Keep a metal can for oily rag disposal. Our guides on staining wood and choosing a finish go into the details.
Safety essentials
- Safety glasses, hearing protection, and a respirator or dust mask
- A fire extinguisher rated for the shop (often an ABC type) mounted near the exit
- A first aid kit within reach
- Push sticks and blade guards for saws
- Clear walkways and good lighting
- Lock up tools and finishes if children are around
Tips for small-shop success
- Design your layout on paper (or with paper cutouts) before moving heavy tools.
- Keep the area around the table saw clear in front and behind for ripping long boards.
- Build shop projects first: a workbench, wall cabinet, and mobile cart teach skills while improving the space.
- Insulating the garage door and walls makes the shop more comfortable year-round and can help finishes cure in cooler months.
- Keep a notebook of tools you wish you had; buy them when a real project needs them.
Common mistakes to avoid
- Buying too many tools too soon. They take up space and may not match your projects.
- Overloading circuits. Tripped breakers are annoying; overheated cords are dangerous.
- Ignoring dust. Long-term exposure is a real health risk.
- Poor lighting. Shadows lead to bad cuts and accidents.
- Storing finishes near ignition sources. Keep flammables away from water heaters and furnaces.
FAQ
How much space do I need for a woodworking shop?
Many people work successfully in a single-car garage or even half of one. Mobile tools and wall storage make small spaces practical.
Should my first big tool be a table saw?
Not necessarily. A circular saw with a guide covers a lot of cuts. A table saw is powerful but needs space and careful safety habits. Our beginner guides can help you decide.
Do I need special wiring?
Basic benchtop tools often run on standard 120V outlets. Larger tools or running several at once may need dedicated circuits. Consult a licensed electrician.
How do I keep the shop warm in winter?
Insulate walls and the garage door and use a heater rated for garages. Keep heaters away from sawdust and finishes, and follow the manufacturer’s safety guidance.
