Woodworking plans can look like a foreign language the first time you open them: exploded views, dimension lines, cut lists, and abbreviations everywhere. But once you understand how plans are organized, they become one of your most valuable tools. A good plan saves lumber, prevents mistakes, and teaches you how experienced builders think through a project. This step-by-step guide shows you how to read any plan with confidence.
If you are just getting started, our complete beginner’s guide and the Start Here page will give you helpful background.
Key takeaways
- Read the entire plan before you buy wood or make a single cut.
- Most plans include an overview, drawings, a cut list, a materials list, and step-by-step instructions.
- Learn to read different views: front, side, top, and exploded.
- Check whether dimensions are listed as length x width x thickness, and confirm the units.
- Measure your actual lumber, since real sizes often differ from nominal sizes.
- Dry-fit parts before gluing, and mark each part with its label from the plan.
Step 1: Read the Whole Plan First
It is tempting to jump straight to the cut list. Resist that urge. Read every page from start to finish before touching a saw. You want to understand how the project goes together, which joints it uses, which tools it requires, and where tricky steps might be. Many mistakes happen because a builder cut parts early, only to learn later that a dimension depended on a joint they had not yet made.
As you read, ask yourself:
- Do I have the tools this plan requires?
- Do I understand every joint, or do I need to practice one first?
- Does the finished size fit my space?
- Are there any steps where the order really matters?
Step 2: Understand the Parts of a Plan
Most woodworking plans share the same basic structure, even if the layout varies:
| Section | What it tells you |
|---|---|
| Overview / introduction | Finished dimensions, difficulty level, estimated time, and a photo or rendering of the completed project. |
| Tools list | The tools needed to complete the project, sometimes with optional alternatives. |
| Materials list | Lumber, sheet goods, hardware, fasteners, glue, and finish. |
| Cut list | Each part with its label, quantity, and final dimensions. |
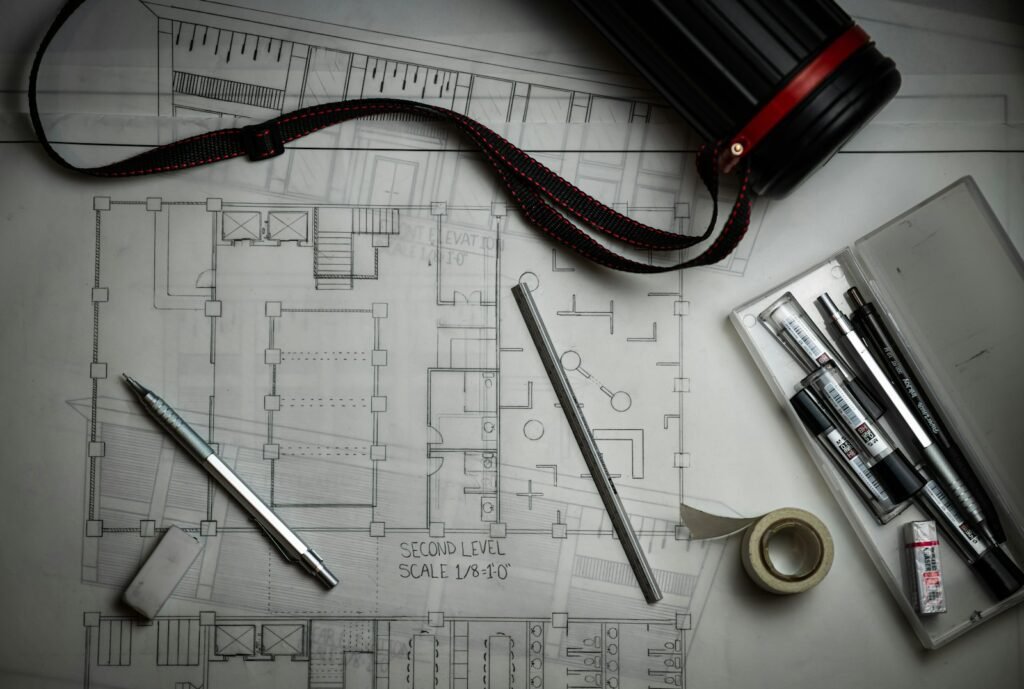
| Drawings | Views of the project and its parts with dimensions. |
| Instructions | The order of operations, step by step. |
Step 3: Learn to Read the Drawings
Plans use several types of drawings, each showing the project from a different angle.
Orthographic views (front, side, top)
These are flat, two-dimensional views as if you were looking straight at one face of the project. The front view shows height and width, the side view shows height and depth, and the top view shows width and depth. Together they describe every dimension of the piece.
Exploded views
An exploded view shows the parts pulled apart slightly, so you can see how they fit together. This is often the most helpful drawing for understanding assembly order and joinery. Parts are usually labeled with letters or numbers that match the cut list.
Detail views
Detail drawings zoom in on specific features, such as a joint, a curve, or the location of a hole. When something looks unclear in the main drawing, look for a detail view.
Section views
A section view shows what the project would look like if it were sliced through. It reveals hidden features such as grooves, dadoes, or the thickness of a panel.
Step 4: Decode Dimensions and Symbols
Dimension lines usually have arrows or tick marks at each end with the measurement written in between. A few conventions to know:
- Units: US plans typically use inches and fractions of an inch. Some plans use millimeters. Confirm before cutting.
- Order: Cut lists often list dimensions as thickness x width x length (T x W x L), but not always. Check the plan’s legend or header.
- Inch and foot marks: A double prime (“) means inches and a single prime (‘) means feet.
- Diameter and radius: A circle with a slash (Ø) often indicates diameter; “R” indicates radius.
- Centerlines: Long-short dashed lines often mark the center of a part or hole.
- Hidden lines: Short dashed lines often show edges that are hidden from view.
- Common abbreviations: “OC” (on center), “TYP” (typical, meaning the same detail repeats elsewhere), and “S4S” (surfaced four sides) appear frequently.
Step 5: Study the Cut List and Materials List
The cut list is the heart of the plan. Each row usually includes a part label, a name (like “side” or “shelf”), quantity, and final dimensions. A few tips:
- Note finished vs. rough sizes. Most cut lists give finished dimensions. You may need to start with slightly larger stock.
- Remember nominal sizes. A “1×8” board is not 1 by 8 inches. Measure your real boards and compare them to the plan’s thickness. Our guide to wood types explains nominal sizing.
- Plan your cuts. Sketch how parts will be laid out on each board or sheet to minimize waste and avoid knots.
- Buy extra. Add some extra material to allow for defects and mistakes.
Step 6: Follow the Order of Operations
Instructions are written in a specific order for a reason. For example, it is often easier to cut grooves in parts before assembly, or to finish interior surfaces before a box is glued up. Read each step completely before starting it, and look at the matching drawing.
Safety note: If a plan calls for a tool or technique you have not used before, stop and learn it first. Read the tool’s manual, practice on scrap, and wear appropriate eye, ear, and dust protection. A plan’s instructions do not replace the safety guidance for your specific tools. See our safety gear section.
Step 7: Label Parts and Dry-Fit Everything
As you cut each piece, mark it in pencil with its label from the plan (for example, “A – Left Side”). Also mark which face goes out and which edge goes up. This avoids the classic mistake of assembling a part backward.
Before you apply any glue, dry-fit the assembly. Clamp the parts together without glue to check that joints close, corners are square, and everything matches the drawings. Dry-fitting is where you catch problems while they are still easy to fix.
Step 8: Adjust for Your Reality
Plans are written for ideal conditions. Your lumber might be slightly thicker, your saw kerf slightly wider, or your space slightly smaller. Experienced woodworkers often measure from the actual parts they have already made rather than trusting the plan’s numbers blindly. For example, measure the real opening for a shelf before cutting the shelf to length.
Common Mistakes When Reading Plans
- Cutting all parts at once before checking how they fit together.
- Confusing width and thickness in the cut list.
- Ignoring the saw kerf (the material removed by the blade) when cutting multiple parts from one board.
- Skipping detail drawings and missing important features.
- Not accounting for the thickness of joinery, like a dado that a shelf sits in.
Where to Find Good Beginner Plans
Look for plans that include clear drawings, a complete cut list, and step-by-step instructions with photos or diagrams. Simple projects such as a step stool, wall shelf, or storage box are perfect for practicing plan-reading. Browse our woodworking projects section, and make sure your kit covers the basics with our list of essential woodworking tools. Many plans also use simple joints, explained in our guide to basic wood joints.
Frequently Asked Questions
What does T x W x L mean on a cut list?
It stands for thickness by width by length. Many plans use this order, but some list length first, so always check the plan’s legend.
Should I cut every part before starting assembly?
Not always. It is often better to cut some parts to final size only after earlier parts are assembled, so you can measure the actual space they need to fill.
What is an exploded view?
It is a drawing that shows a project’s parts separated slightly so you can see how they fit together and in what order.
Can I modify a plan’s dimensions?
Yes, but change related parts too. If you make a cabinet wider, the top, bottom, shelves, and back all need to change. Sketch your changes before cutting.