Woodworking is one of the most rewarding hobbies you can pick up. You start with rough boards and end with something useful and lasting: a shelf, a cutting board, a bench your family will use for years. The hard part for most people is not the work itself. It is knowing where to begin. This guide walks you through the whole getting-started process, from setting realistic goals to finishing your first project, without overwhelming you or pushing you to buy a garage full of tools on day one.
If you are brand new to the site, our Start Here page lays out the order we suggest reading our guides in. You can also see how we review and research tools so you know how our recommendations are put together.
Key takeaways
- Start small: a simple project teaches more than a complicated one you never finish.
- You need far fewer tools than you think. Buy tools as projects demand them.
- Safety habits formed early (eye and hearing protection, sharp blades, a clear workspace) last a lifetime.
- Learn to measure and mark accurately before worrying about fancy joinery.
- Softwoods like pine are forgiving and inexpensive, which makes them ideal for practice.
- Finishing is part of the project, not an afterthought. Plan for it from the start.
Step 1: Decide What Kind of Woodworker You Want to Be
“Woodworking” covers a lot of ground. Some people love the quiet precision of hand tools. Others want to build furniture quickly with power tools. Some care most about small crafts like spoons, boxes, and signs, while others want to build a deck or shed. None of these paths is better than the others, but your goals shape what you should learn and buy first.
Ask yourself a few questions:
- What do I want to make in the next six months? Be specific: “a bookshelf for my office” is more useful than “furniture.”
- How much space do I have? A corner of an apartment, a one-car garage, and a dedicated shop all lead to different choices.
- How much noise and dust can I make? Neighbors and family members matter. Hand tools are quieter; power tools are faster.
- What is my budget? You can start meaningfully with a modest budget if you focus on versatile basics.
Step 2: Set Up a Simple, Safe Workspace
You do not need a dream shop. You need a stable work surface, decent light, some way to hold work in place, and enough room to move around safely. Many woodworkers begin with a sturdy folding workbench or a pair of sawhorses topped with a sheet of plywood.
A few priorities for a first workspace:
- A solid surface. If your bench wobbles, your cuts will too. Weight and rigidity matter more than looks.
- Good lighting. Bright, even light helps you see pencil lines and spot mistakes before they become problems.
- Clamps. Clamps are the “extra hands” of woodworking. A few bar clamps or F-style clamps go a long way.
- Dust control. Even a shop vacuum and a good dust mask make a big difference for your lungs and your cleanup time.
- Power access. Avoid running long chains of extension cords. Use a properly rated cord and keep it out of walkways.
For more ideas on organizing a small area, browse our workshop setup guides.
Step 3: Learn the Core Safety Habits
Safety note: Every tool that cuts wood can also cut you. Build these habits from your very first session: wear safety glasses whenever you cut, drill, sand, or hammer; use hearing protection with power tools; keep blades and bits sharp, since dull edges need more force and slip more easily; never reach over or behind a spinning blade; keep loose clothing, jewelry, and long hair secured; and always read the manual for any power tool before using it. When you are tired or distracted, stop for the day.
Our safety gear section covers eye, ear, and respiratory protection in more detail.
Step 4: Start With a Small, Focused Tool Kit
The biggest beginner mistake is buying too many tools too early. Instead, assemble a small set of versatile tools and add more only when a project calls for them. Here is a sensible starting point:
| Category | Tool | Why it matters |
|---|---|---|
| Measuring & marking | Tape measure, combination square, pencil | Accurate layout is the foundation of every project. |
| Cutting | Hand saw or circular saw | Lets you break down boards to size. |
| Drilling & driving | Cordless drill/driver | Drills holes and drives screws; one of the most-used tools in any shop. |
| Holding | Clamps (at least four) | Holds parts while you cut, glue, and assemble. |
| Smoothing | Sandpaper and a sanding block or random orbit sander | Prepares surfaces for finish. |
| Safety | Safety glasses, hearing protection, dust mask | Non-negotiable from day one. |
We go deeper on each of these in our guide to essential woodworking tools every beginner needs, and you can explore individual categories under hand tools and power tools.
Step 5: Understand Your Material
Wood is a natural material, and it behaves differently depending on species, grain, and moisture. For beginners, a few basics go a long way:
- Softwoods such as pine and fir are affordable, widely available at home centers, and easy to cut. They dent easily, but that is a fair trade while you are learning.
- Hardwoods such as oak, maple, and walnut are more durable and attractive, but cost more and can be harder to work.
- Plywood is stable and great for shelves, cabinet sides, and jigs.
- Wood moves. Boards expand and shrink across their width as humidity changes. Good designs allow for this movement.
When shopping, pick boards that are straight, flat, and free of large cracks or loose knots. Sight down the edge of each board to check for bowing or twisting. Our guide to hardwood vs. softwood explains species choices in more detail.
Step 6: Master Measuring, Marking, and Cutting Straight
Before you learn dovetails, learn to cut a board square and to length. It sounds simple, but accurate measuring and cutting are what make projects fit together cleanly.
- Measure twice, cut once. It is a cliché because it works.
- Use one tape measure per project. Different tapes can vary slightly.
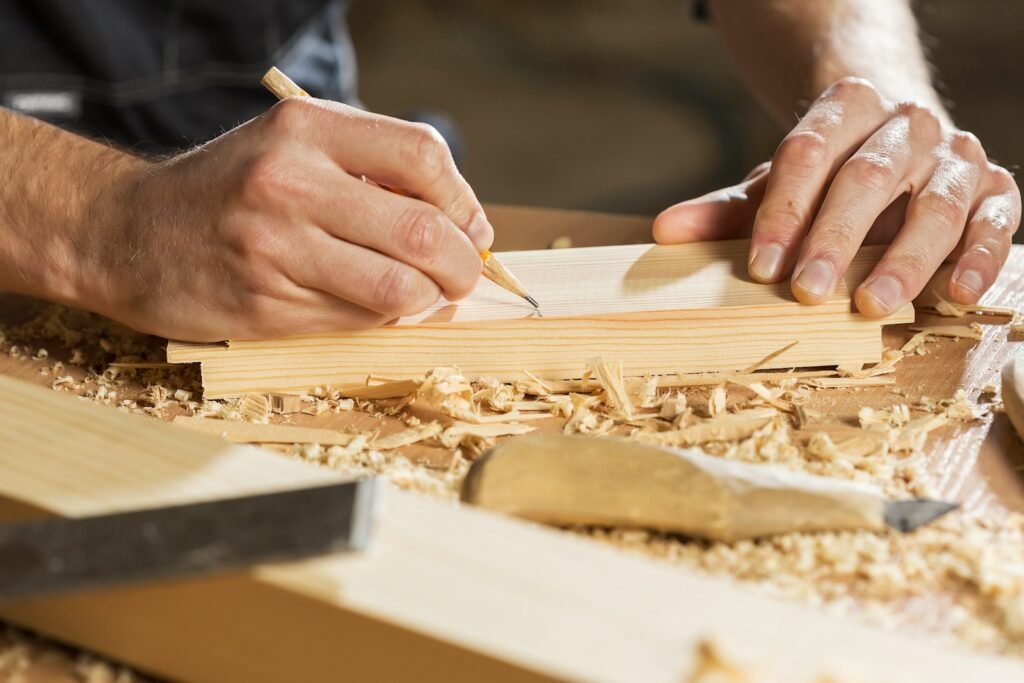
- Mark with a sharp pencil or marking knife, and use a square to carry lines around the board.
- Cut on the waste side of the line, so the finished piece ends up the right size.
- Practice on scrap. A few minutes of practice cuts before the real thing builds confidence.
Step 7: Learn a Few Simple Joints
Joints are how pieces of wood connect. You do not need to learn dozens. A butt joint reinforced with screws, a pocket-hole joint, and a simple dado or rabbet will let you build a huge range of beginner projects. Later you can explore stronger and more decorative joints like mortise-and-tenon or dovetails. See our overview of basic wood joints every beginner should know.
Step 8: Pick a Great First Project
A good first project is small, useful, and finishable in a weekend or two. It should teach a few skills without requiring advanced tools. Some proven choices:
- A simple cutting board or serving board
- A step stool
- A wall shelf
- A planter box
- A basic storage box or tool tote
Look for projects with clear plans. Learning how to read woodworking plans will save you time and lumber. You will find more ideas in our woodworking projects section.
Step 9: Finish What You Build
A finish protects wood from moisture, dirt, and wear, and it brings out the grain. For beginners, wipe-on finishes are forgiving because they go on in thin coats and are hard to mess up. Always sand progressively (for example, moving from a coarser to a finer grit), remove dust before finishing, and test the finish on a scrap of the same wood first. Food-contact items like cutting boards need a food-safe finish such as mineral oil. Read more in our wood finishing guides.
Step 10: Keep Learning, One Project at a Time
Every project teaches you something, especially the ones that go wrong. Keep a simple notebook of what worked, what did not, and what you would do differently. Over time, add tools and techniques as your projects require them. Patience and repetition build skill much faster than any single tool purchase.
Frequently Asked Questions
How much does it cost to start woodworking?
It varies widely depending on whether you start with hand tools or power tools and whether you buy new or used. The key is to start with a small set of versatile tools and add more only when a project truly needs them.
Can I do woodworking in an apartment?
Yes. Many people start with hand tools and small projects on a sturdy table or portable workbench. Hand tools are quieter and produce less fine dust, which makes them well suited to small spaces.
What is the easiest wood for beginners?
Pine and other softwoods are usually the easiest place to start. They are inexpensive, widely available, and easy to cut and sand, which makes mistakes less costly.
Should I start with hand tools or power tools?
Either works. Hand tools teach fundamentals and are quieter; power tools speed up repetitive work. Many beginners use a mix, such as a cordless drill/driver plus a hand saw.
How long does it take to get good at woodworking?
You can build useful projects within your first few weekends. Real skill comes from steady practice over months and years, with each project building on the last.