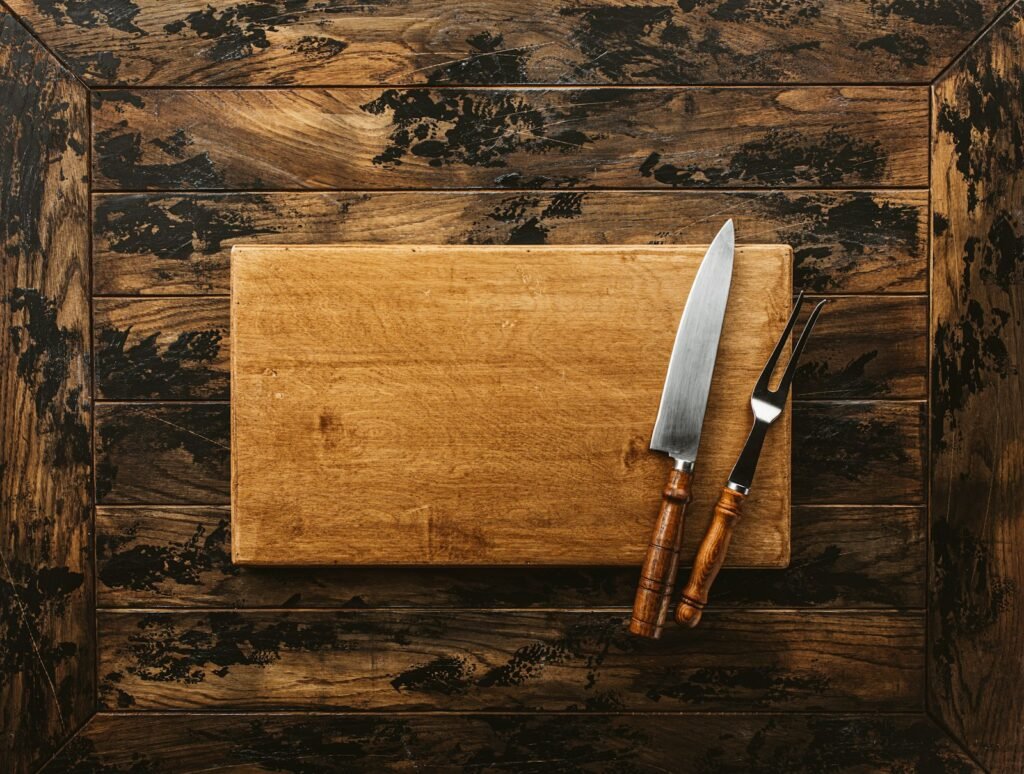
A wooden cutting board is one of the best first projects in woodworking. It is small, it uses very little material, and when you finish it you have something genuinely useful that you will reach for every day. It also teaches the core skills you will use for years: choosing lumber, cutting to size, gluing, flattening, sanding, and applying a finish. If you are brand new, our Start Here page is a good companion to this guide.
Key takeaways
- Choose a closed-grain hardwood such as hard maple, cherry, or walnut. Avoid open-grain woods like red oak and avoid softwoods for boards that see knife work.
- A single solid board is the easiest version. A glued-up “edge grain” board is the natural next step.
- Use a waterproof wood glue rated for indirect food contact if you glue strips together, and let it cure fully.
- Finish with food-grade mineral oil (and optionally a board butter of mineral oil and beeswax). Always follow the product label.
- Never soak the board or put it in the dishwasher.
Choosing the right wood
The wood you pick matters more than any tool. A good cutting board wood is hard enough to resist deep knife scars, but not so hard that it dulls your knives quickly. It should also be tight-grained, so food particles and moisture have fewer places to hide.
| Wood | Why it works | Things to know |
|---|---|---|
| Hard maple | Dense, closed grain, light color, the classic choice | Shows stains more easily because it is pale |
| Cherry | Smooth, easy to work, darkens beautifully with age | Slightly softer than maple |
| Walnut | Rich dark color, kind to knife edges | Usually costs more than maple |
| Red oak | Common and inexpensive | Open pores trap moisture; generally not recommended for cutting boards |
| Pine and other softwoods | Cheap and easy to find | Too soft; scars quickly and can impart resin flavors |
Buy boards that are straight, free of cracks, and without loose knots. For a beginner board, a piece roughly 3/4″ to 1-1/4″ thick, 8″–12″ wide, and 14″–18″ long is a comfortable size.
Materials and tools
Materials
- Hardwood board (or several narrower strips for a glue-up)
- Waterproof wood glue suitable for indirect food contact (check the label) – only needed for glue-ups
- Sandpaper in 80, 120, 180, and 220 grits
- Food-grade mineral oil
- Optional: beeswax or a ready-made board butter
- Clean lint-free rags
Tools
- Saw for crosscutting: a handsaw, circular saw, miter saw, or table saw (see our hand tools and power tools guides)
- Tape measure, combination square, and pencil
- Clamps (at least three bar or pipe clamps for a glue-up)
- Random orbit sander, or a sanding block if working by hand
- Optional: router with a roundover bit, block plane, card scraper
- Safety glasses, hearing protection, and a dust mask or respirator (see safety gear)
Safety notes
- Wear eye protection whenever you cut, rout, or sand.
- Fine hardwood dust is a respiratory irritant. Wear a properly fitted dust mask or respirator and use dust collection when you can.
- Keep hands well clear of blades and bits, and use push sticks on a table saw.
- Oily rags from some finishes can self-heat. Mineral oil is generally not a drying oil, but if you use any drying oils, lay rags flat to dry outdoors or follow the product’s disposal instructions.
Step-by-step: building your cutting board
- Plan your size. Decide on final dimensions and add about 1″ to the length so you can trim the ends clean later. Sketch the board if you are combining strips of different woods.
- Cut the blank. Crosscut your board to rough length. For a single-piece board, you may only need to square the ends. For a glue-up, rip strips of equal thickness, typically 1-1/2″ to 2″ wide.
- Prepare the glue edges (glue-ups only). The edges must be straight and square so they meet with no gaps. A jointer, a hand plane, or a table saw with a quality blade can do this. Dry-fit the strips and look for light leaking through the seams.
- Glue up. Lay the strips on clamps, spread an even layer of glue on each mating edge, and press them together. Alternate clamps above and below the board to keep it flat. Tighten until you see a small, even bead of squeeze-out; do not crank so hard you starve the joint of glue.
- Let the glue cure. Leave it clamped for the time listed on the bottle, then wait the full cure time (often 24 hours) before heavy work. Scrape off squeeze-out once it turns rubbery.
- Flatten the board. Use a hand plane, a router flattening sled, or patient sanding with 80 grit to bring both faces flat. Check with a straightedge in several directions.
- Trim to final size. Square and cut the ends to your final length. Clean up the long edges if needed.
- Shape the edges. Ease all edges with a router and a small roundover bit (1/8″ to 1/4″), or with sandpaper. Soft edges feel nicer and resist chipping.
- Optional details. Add a juice groove with a router and template, a finger hole, or feet on the underside. Keep it simple on your first build.
- Sand through the grits. Sand 80 → 120 → 180 → 220. Do not skip grits; each one removes the scratches from the previous one.
- Raise the grain. Wipe the board with a damp cloth and let it dry. The surface will feel fuzzy. Lightly sand again with 220. This step keeps the board smoother after its first wash.
- Apply the finish. See the next section.
Food-safe finishing (keep it simple)
For cutting boards, the most widely recommended and conservative option is food-grade mineral oil, sometimes labeled USP mineral oil or “cutting board oil.” Look for a product that is clearly labeled as safe for food contact surfaces, and follow its directions.
- Flood the surface with oil, let it soak in for the time recommended on the label (often 15–20 minutes or longer), and wipe off the excess.
- Repeat for several coats over a day or two until the wood stops absorbing much oil.
- Optionally, finish with a board butter (mineral oil blended with beeswax) for a little extra water resistance.
Avoid cooking oils such as olive or vegetable oil; they can go rancid over time. Film finishes like polyurethane are not a good choice for a knife surface because they get cut and chip. If you want to learn more about finish types in general, read our guide on polyurethane vs wood oil.
Tips for a better board
- Pick strips with straight grain; they are less likely to warp.
- Arrange strips so the growth rings alternate direction if you can. This can help balance seasonal movement.
- Mark a “cabinetmaker’s triangle” across the strips before you glue so you can reassemble them in order.
- Rub your hand across the board after each grit; you will feel spots you cannot see.
- Make two boards at once. The second one usually comes out better, and it makes a great gift.
Common mistakes to avoid
- Using the wrong wood. Open-grain or very soft woods do not hold up well in the kitchen.
- Gluing edges that are not straight. Clamps can hide a gap temporarily, but the joint will be weak.
- Rushing the glue cure. Flattening too soon can stress joints that have not fully set.
- Skipping sandpaper grits. Deep scratches from coarse grits will show up once oil is applied.
- Using a non-food-safe finish. Stick to products clearly labeled for food contact and follow the instructions.
- Making it too thin. Very thin boards warp more easily. Around 3/4″ is a practical minimum.
Caring for your cutting board
- Wash by hand with warm soapy water, rinse, and dry it standing on edge.
- Never soak it or put it in the dishwasher.
- Re-oil whenever the wood looks dry or pale, often once a month with regular use.
- Lightly sand out deep knife marks and re-oil as needed.
FAQ
Can I make a cutting board without power tools?
Yes. A single solid board can be cut with a handsaw, flattened with a hand plane, and sanded by hand. It takes longer, but the result can be just as good. Browse our beginner guides for hand-tool basics.
What is the safest finish for a cutting board?
Food-grade mineral oil labeled for food contact surfaces is the common, conservative choice. A mineral oil and beeswax board butter is also popular. Always follow the manufacturer’s directions.
Is wood glue safe for cutting boards?
Many waterproof wood glues are labeled as approved for indirect food contact once fully cured. Check the specific product label before using it.
How thick should a cutting board be?
Around 3/4″ to 1-1/2″ is typical. Thicker boards are heavier but more stable and less likely to warp.
Why did my board crack or warp?
Usually from soaking, dishwasher use, uneven drying, or lack of oil. Dry it on edge and keep it oiled.